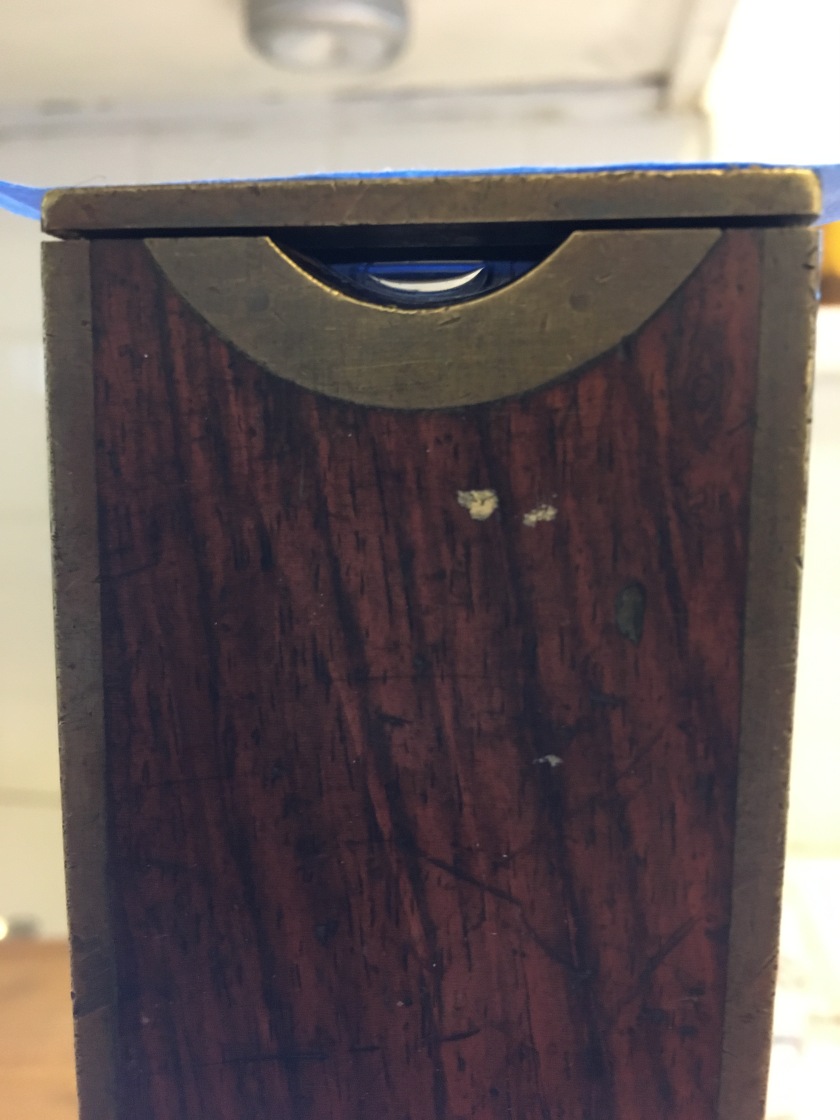
I have been looking for a used machinist level for a while to aid in machine setup. This weekend I went to an antique co-op which occasionally has some interesting items. I found 3 levels; one an L.S.S. Co. Athol (early Starrett) bench level in a 4″ size, a Stanley Sw era small round level with a rotating cover that I later realized is probably the level insert for a model 36 (?) cast iron Stanley level, and a 10″ no. 10 Stratton Brothers brass bound rosewood level in remarkable condition.
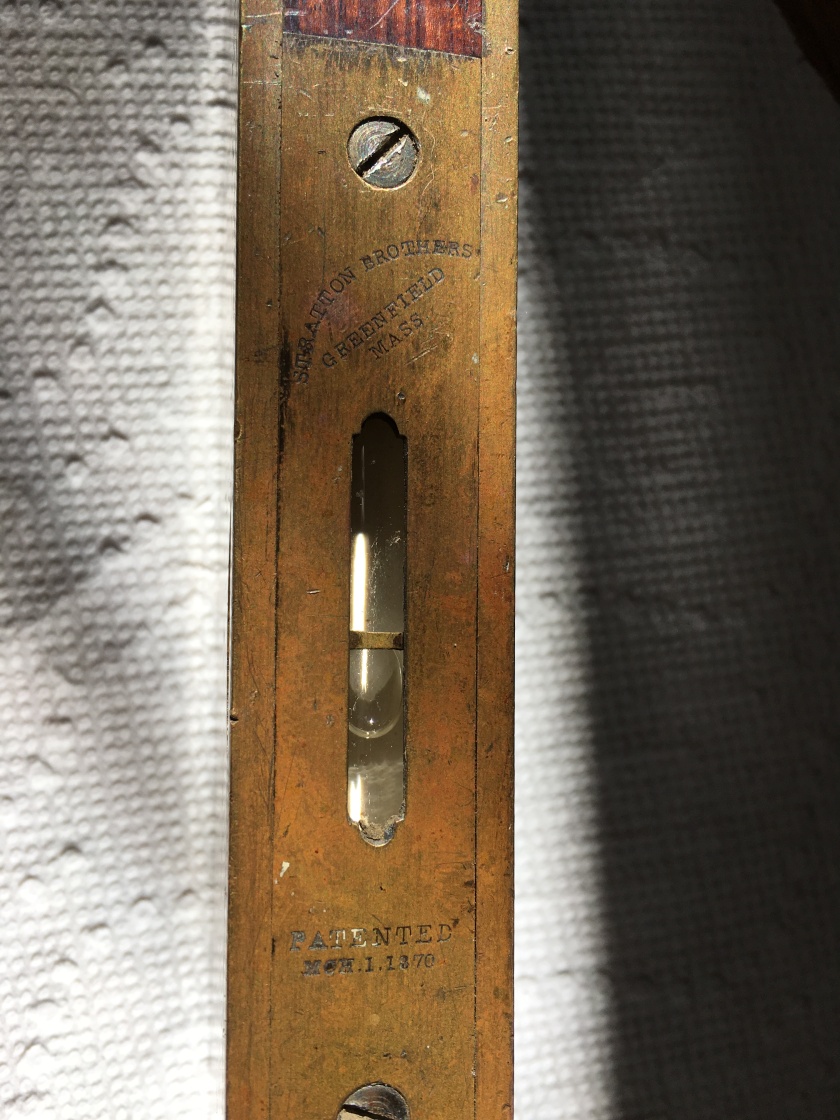
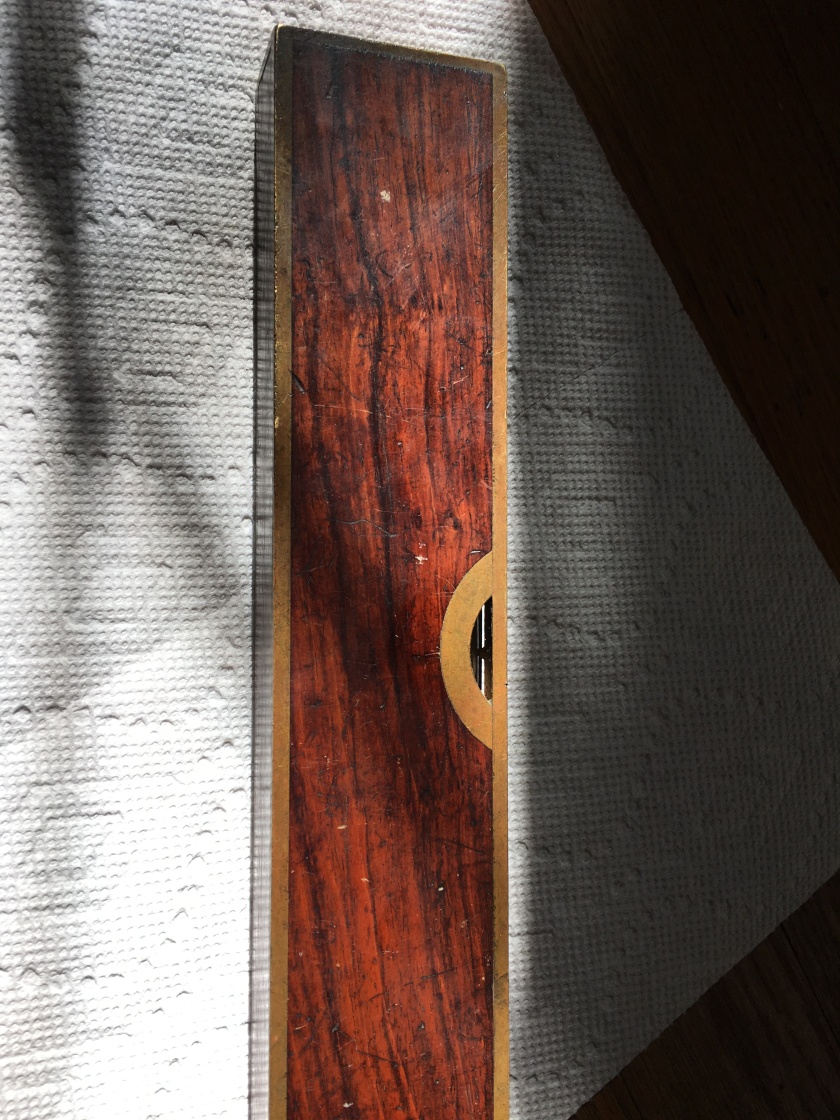
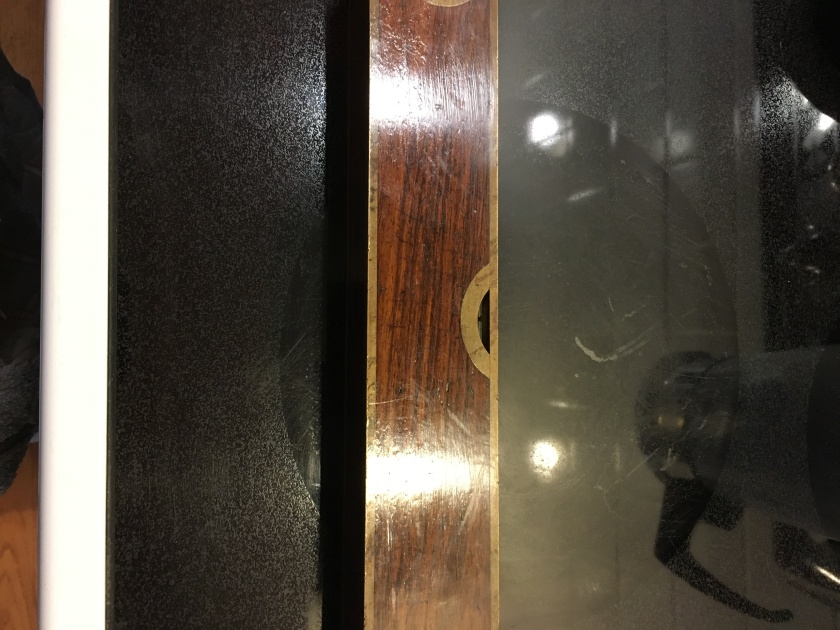
The Stratton Brothers level has spaces for spirit vials both for level and plumb. (Level is on the long edge, plumb is on the end). There is an intact spirit vial in the long edge, but no vial on the end. I cannot find any evidence that there was ever a vial there despite the brass bound window cutout to read a vial. There are no traces of glass, and there is no evidence of plaster of paris or other bedding compound in the space. The location where the vial would rest is an almost pristinely clean vee notch in the end of the rosewood.
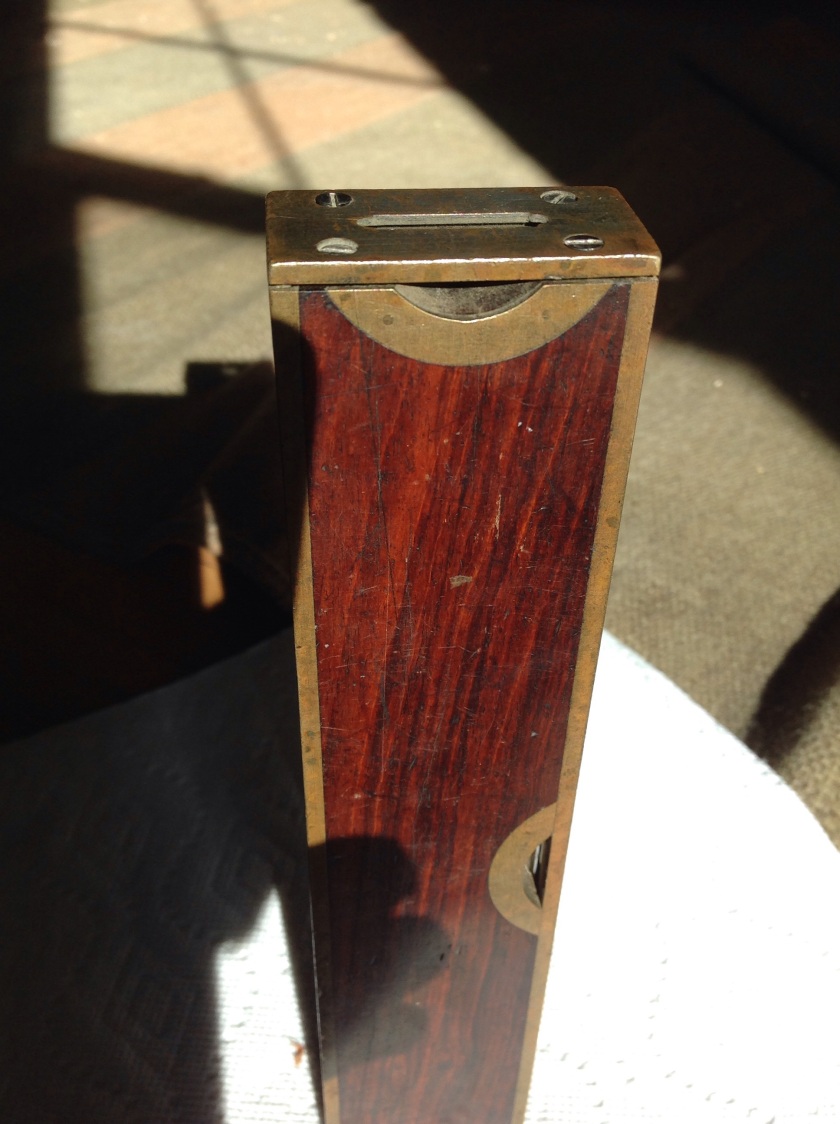
From the factory, a vial would have been bedded into plaster. Since there is absolutely no trace of plaster, I am left to wonder if this was shipped from the factory with just the Level vial. Perhaps this was a cheaper option, (although the cost of these is in the rosewood and brass and labor to fit and finish) or a mistake from the factory but one would think a purchaser would have taken it back to the store for a replacement. I suppose it is possible that the vial became broken at some point and the prior owner meticulously cleaned out the vee notch and pared away any trace of plaster, although I think this unlikely.
At any rate, I have a fine example of a late 1800’s brass bound rosewood Level in need of a plumb vial. Lacking an original to measure, I am going to assume the diameter was the same as the level vial. I will measure the length of the space and look for a high quality glass replacement. Anyone having new old stock spirit vials, or knowing of a good resource please let me know.
UPDATE:
Making an old Level whole again
After posting this blog to the Old Tools List, my new friend Bruce Z. sent me not one, but two replacement spirit level vials in the size I needed to repair this old level. Thanks Bruce! Turns out the vials that Bruce had were like they were made for this level; I couldn’t have asked for a better fit.
Now, onto replacing a spirit level vial:
Levels are a fussy thing, either they are right on, or they are essentially worthless. A level which isn’t set right won’t do you any good. I had never replaced a level vial before and wanted to do it right the first time.
I did a Google search but didn’t really come up with what I was looking for. (Apparently my “Google-Fu” was weak that day) so I turned to Wictor Kuc’s site WK Fine Tools and found some good information. Next I queried the Old Tools List and asked for member’s hard earned experience such as problems and pitfalls to avoid as well as any suggestions. Scott Grandstaff passed on his experiences in repairing levels. Scott has a knack for fixing up old tools and when he offers advise I tend to listen. So what follows is a compilation of what I learned about replacing and bedding in a new spirit bubble vial in a level. As always, your mileage may vary.
Having never done this before, I decided to practice on a block of wood before actually working on the level.
These are the tools I used:
Plaster of Paris, measuring spoons (it doesn’t take much plaster to do this project), a container to mix up the plaster- in this case a disposable cupcake tin, a 3/8″ dowel with a 45* angle sharpened on one end and a 90* angle sharpened on the other to apply and work the plaster, a sharpie marker to mark top center on the vial, and a 2×4 cutoff with a 45* notch cut into it to practice on. Later I used some blue painters tape, a small brass hammer, and a small screwdriver. Additionally you need a trusted level to determine an appropriate place to test and set the level you are working on.
I took my trusted level to several vertical surfaces around the house until I found one that was as close to perfectly plumb as I could find. If you are working on the level vial–that is the one to measure a horizontal surface for level–find and shim that surface for setting your new vial. Mark the extents of the surface you determined to be plumb or level with a pencil or tape so you are testing your project in the same place and position you pre-determined to be level or plumb. (Clear as mud?)
Since I had not done this before, I decided to practice on a scrap piece of wood. In this case the 2×4 with the notch cut into it. You can use any scrap for practice, just make a notch that somewhat replicates the housing for the level vial you are working on. I am very glad I did this step. I found that the wood sucks the moisture right out of the plaster almost immediately and makes it difficult to work. The important lesson here was to wet the surface of the wooden level before applying the plaster and new vial. Disregard this step at your own peril!
The replacement spirit level vial I was using was curved or arched slightly. In this case it was a very small gentle curve which should make the level fairly sensitive. The challenge here was how to make sure I placed the top of the arch in the upright-most position while bedding it in plaster. I placed the new vial on a flat surface and rolled it back and forth until I was satisfied the arch was at top dead center. Then I used the sharpie to place a dot at the top center of the vial. This gave me a visual reference and took the guess work out of making sure the vial was in the correct position once it was in the plaster.
I mixed up the plaster to be used. The plaster of Paris instructions state to use two parts plaster to one part cold water and mix thoroughly. So I placed two tablespoons of dry plaster into the cupcake tin and added one tablespoon of cold water. I mixed until the plaster was smooth. Here is where part of Scott G’s advice comes in: After you mix the plaster, walk away for 20 minutes or so. (I think Scott said that in his younger days he would go have a cup of coffee and a cigarrete while he waited for it to begin to firm up a little–I went for the coffee) the plaster is way too fluid to work with when you first mix it up, this waiting period is important so you have a soft paste consistency when you set the new vial in. If you try to place the vial in freshly mixed plaster, the mixture is so thin the vial would just sink and there would be no way to adjust its position. Ignoring this advice may lead to great frustration, wailing and gnashing of teeth.
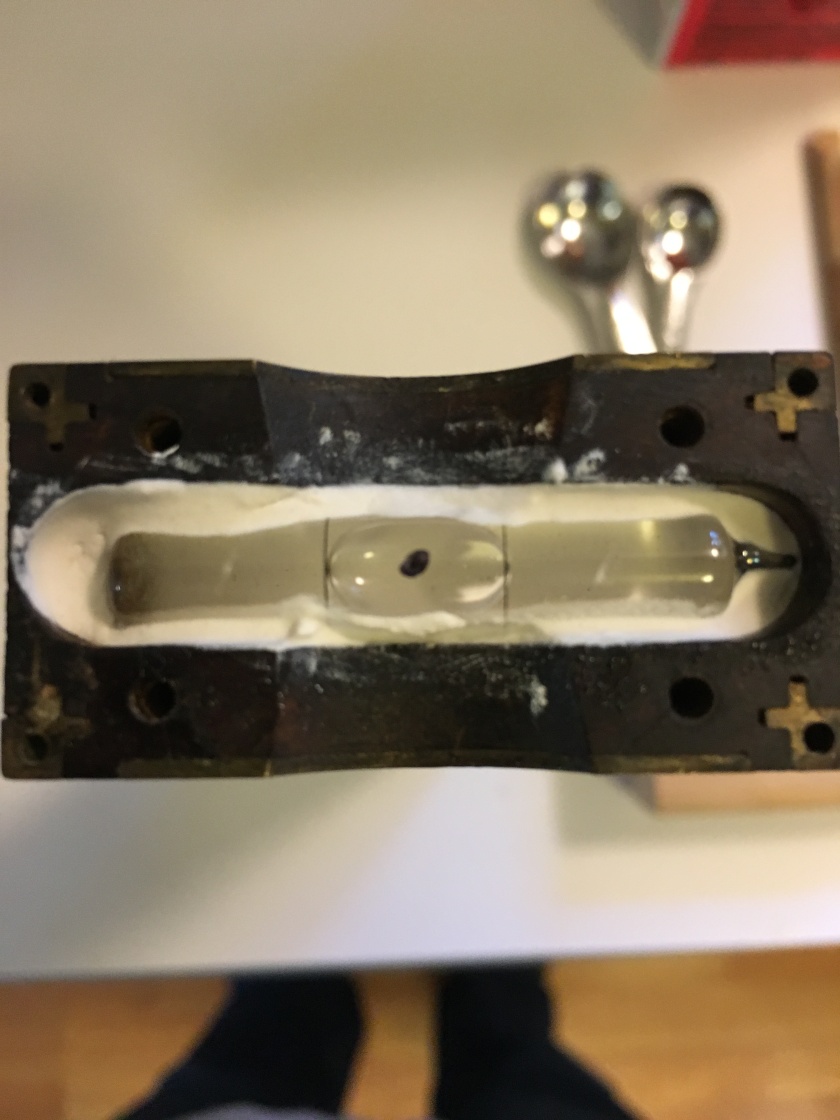
After the plaster had thickened, I used the small dowel to place some plaster across the bottom of the groove in the wooden level. The plaster not only serves to hold the spirit vial, but it also provides a white background against which the bubble is easier to see. I added a little more plaster to either end of the housing and placed the vial making sure the sharpie dot was in the upright most position.
After bedding the vial in, I placed the level against the wall surface I determined to be plumb and tapped one end of the vial or the other until the bubble was centered. I then turned the level around to the other edge and adjusted the vial again. Repeat this step adjusting the vial half the distance you think it needs until the bubble is in the same place regardless of which edge of the level is against your reference surface. When the bubble is centered both directions, it is set appropriately.
Now, gently set the level on a flat surface and walk away for ten or fifteen minutes to let the plaster set up a little.
Now you can go back and use a moist paper towel to carefully wipe any plaster away from the exposed wood. Wait one hour or so and use the wooden dowel to carefully scrape any excess plaster from any surface of the vial which will be visible when the level is completed. Test your level against your reference surface after removing excess plaster to make sure the vial didn’t shift. When you are satisfied it is set right, put the level down on a flat surface and walk away for 24 hours.
The next day you can use a moist–but not dripping wet–towel to remove any excess plaster and clean the top of the vial. The sharpie mark will easily remove with alcohol if it doesn’t wipe off with water. (If you are using a plastic spirit level vial, don’t use the sharpie, it won’t come off, instead use a wax pencil like a China pencil so you can remove the mark.)
Now you can replace the cover over the vial.
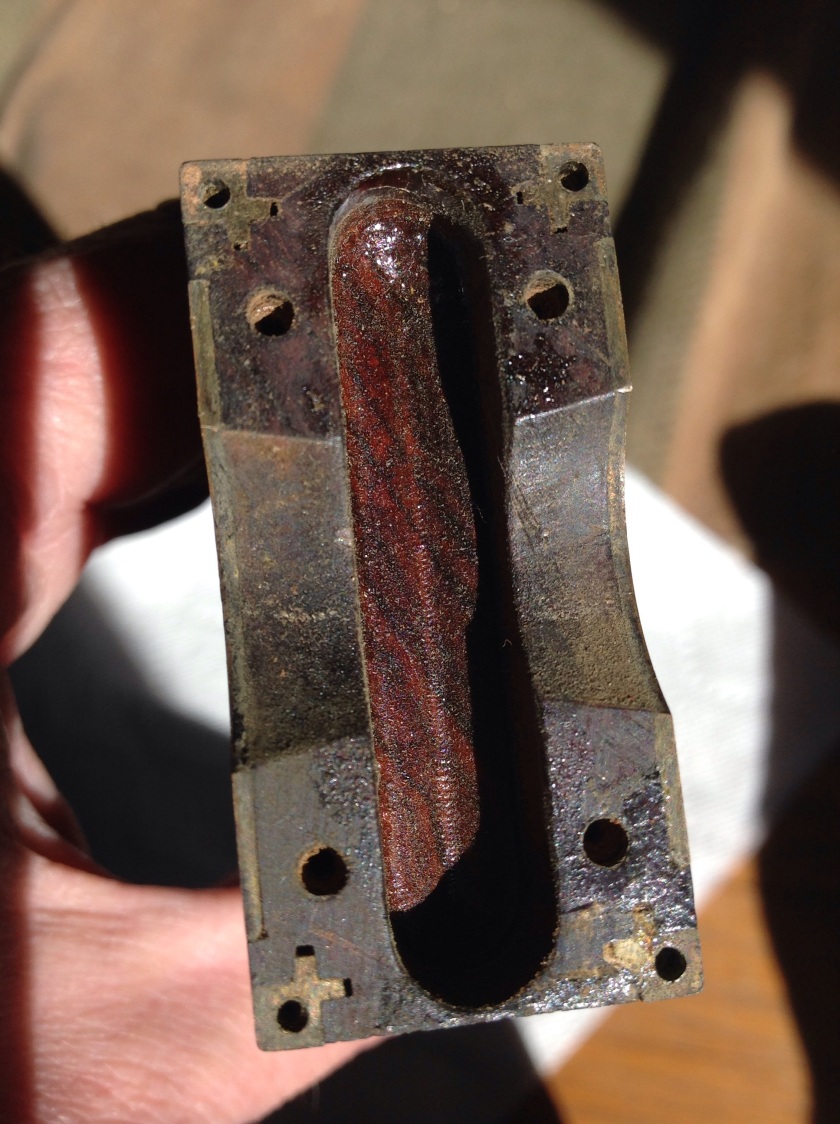
 My cover didn’t want to seat completely, there were four little studs which seated into corresponding holes in the brass trim and didn’t quite seat all the way. I applied two layers of blue painters tape to the brass cover to avoid marring and very gently tapped the cover down with a small brass hammer.
This small hammer, by the way, was a Galootaclaus gift made by The Old Millrat Jim Thompson, it is one of my prized possessions. The striking face of the hammer is about dime sized diameter and is perfect for small work.
After getting the cover seated, I set the screws.
I had a very small ratcheting Yankee no. 2H screwdriver with parallel tip that fit the screws perfectly. The cover plate cinched down nicely. I would have attempted to clock the screws, but since this was a near hundred year old level and brass screws, I merely tightened them down snug. I didn’t want to strip out the rosewood or break a brass screw.
Next, I cleaned the surface of the rosewood with Murphy’s oil soap and a coarse rag, wiped down the level and then applied a paste wax. I did not attempt to shine the brass because I like the patina, and once removed it would take another 100 years to look right.
 So, there it is, my refurbished Stratton Brothers level with a replacement vial, all waxed up and shiny. I do love me some rosewood!


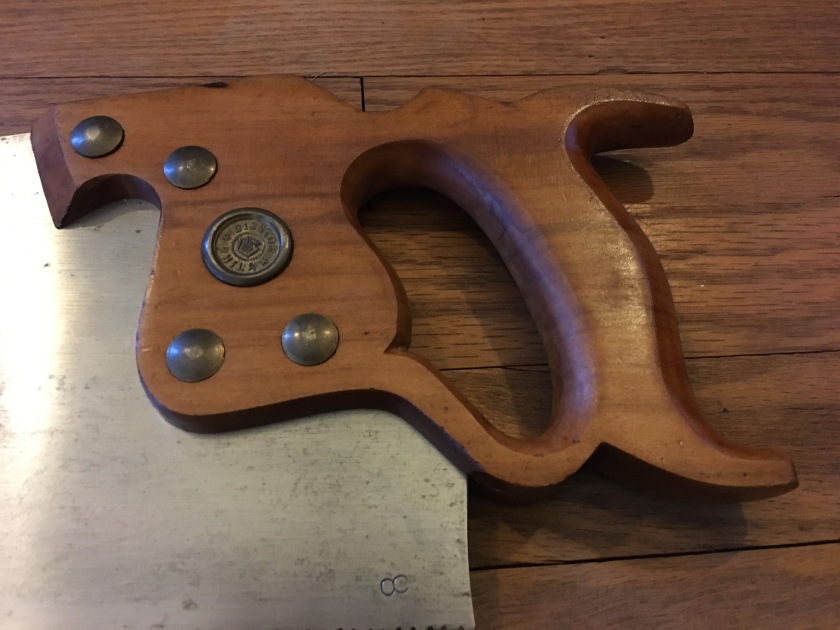
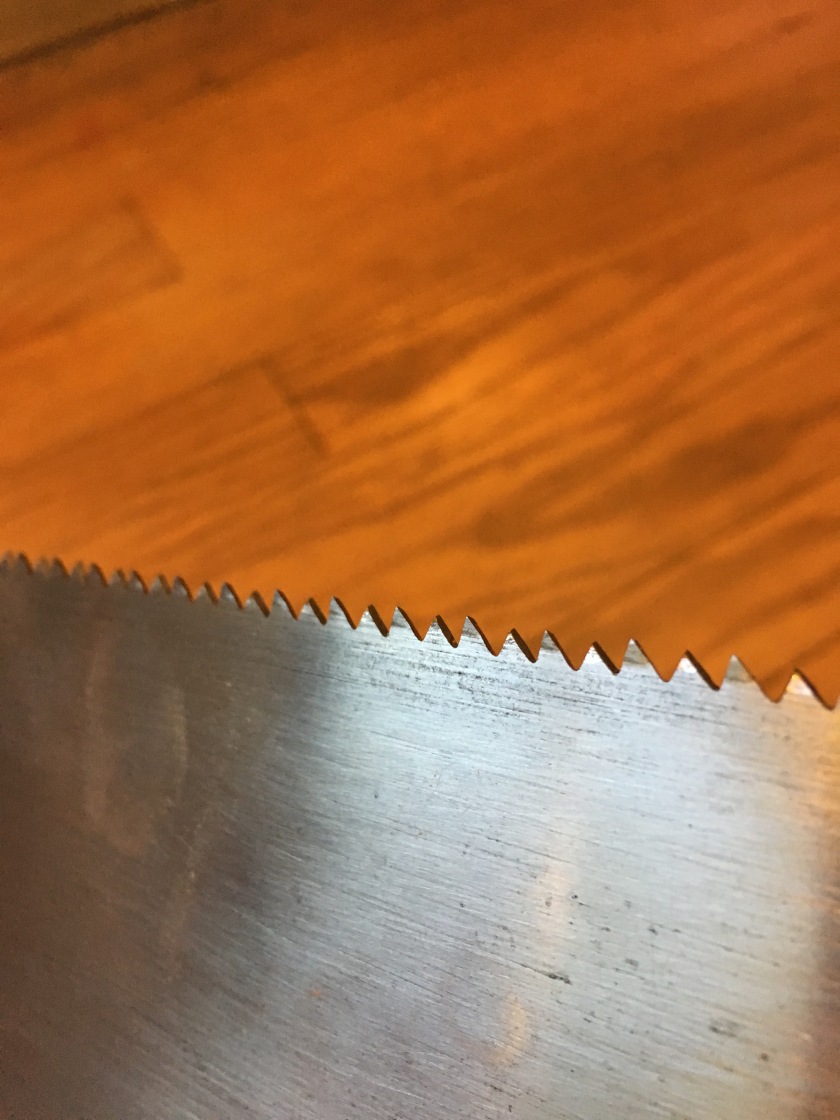
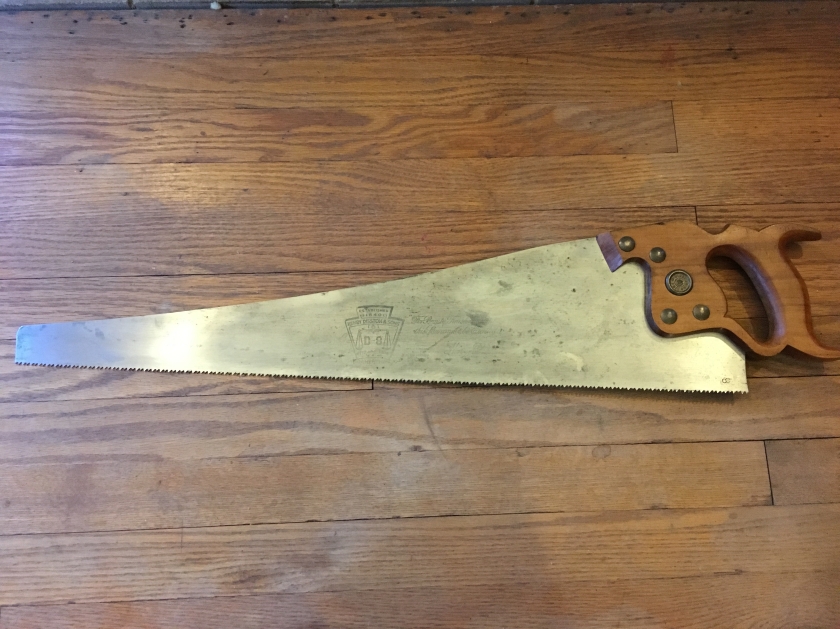 Completed saw